Circular Swiper using Pan Responder and Animated library
How little is needed for something to break Android in React-Native.


Or how little is needed for something to break Android in React-Native
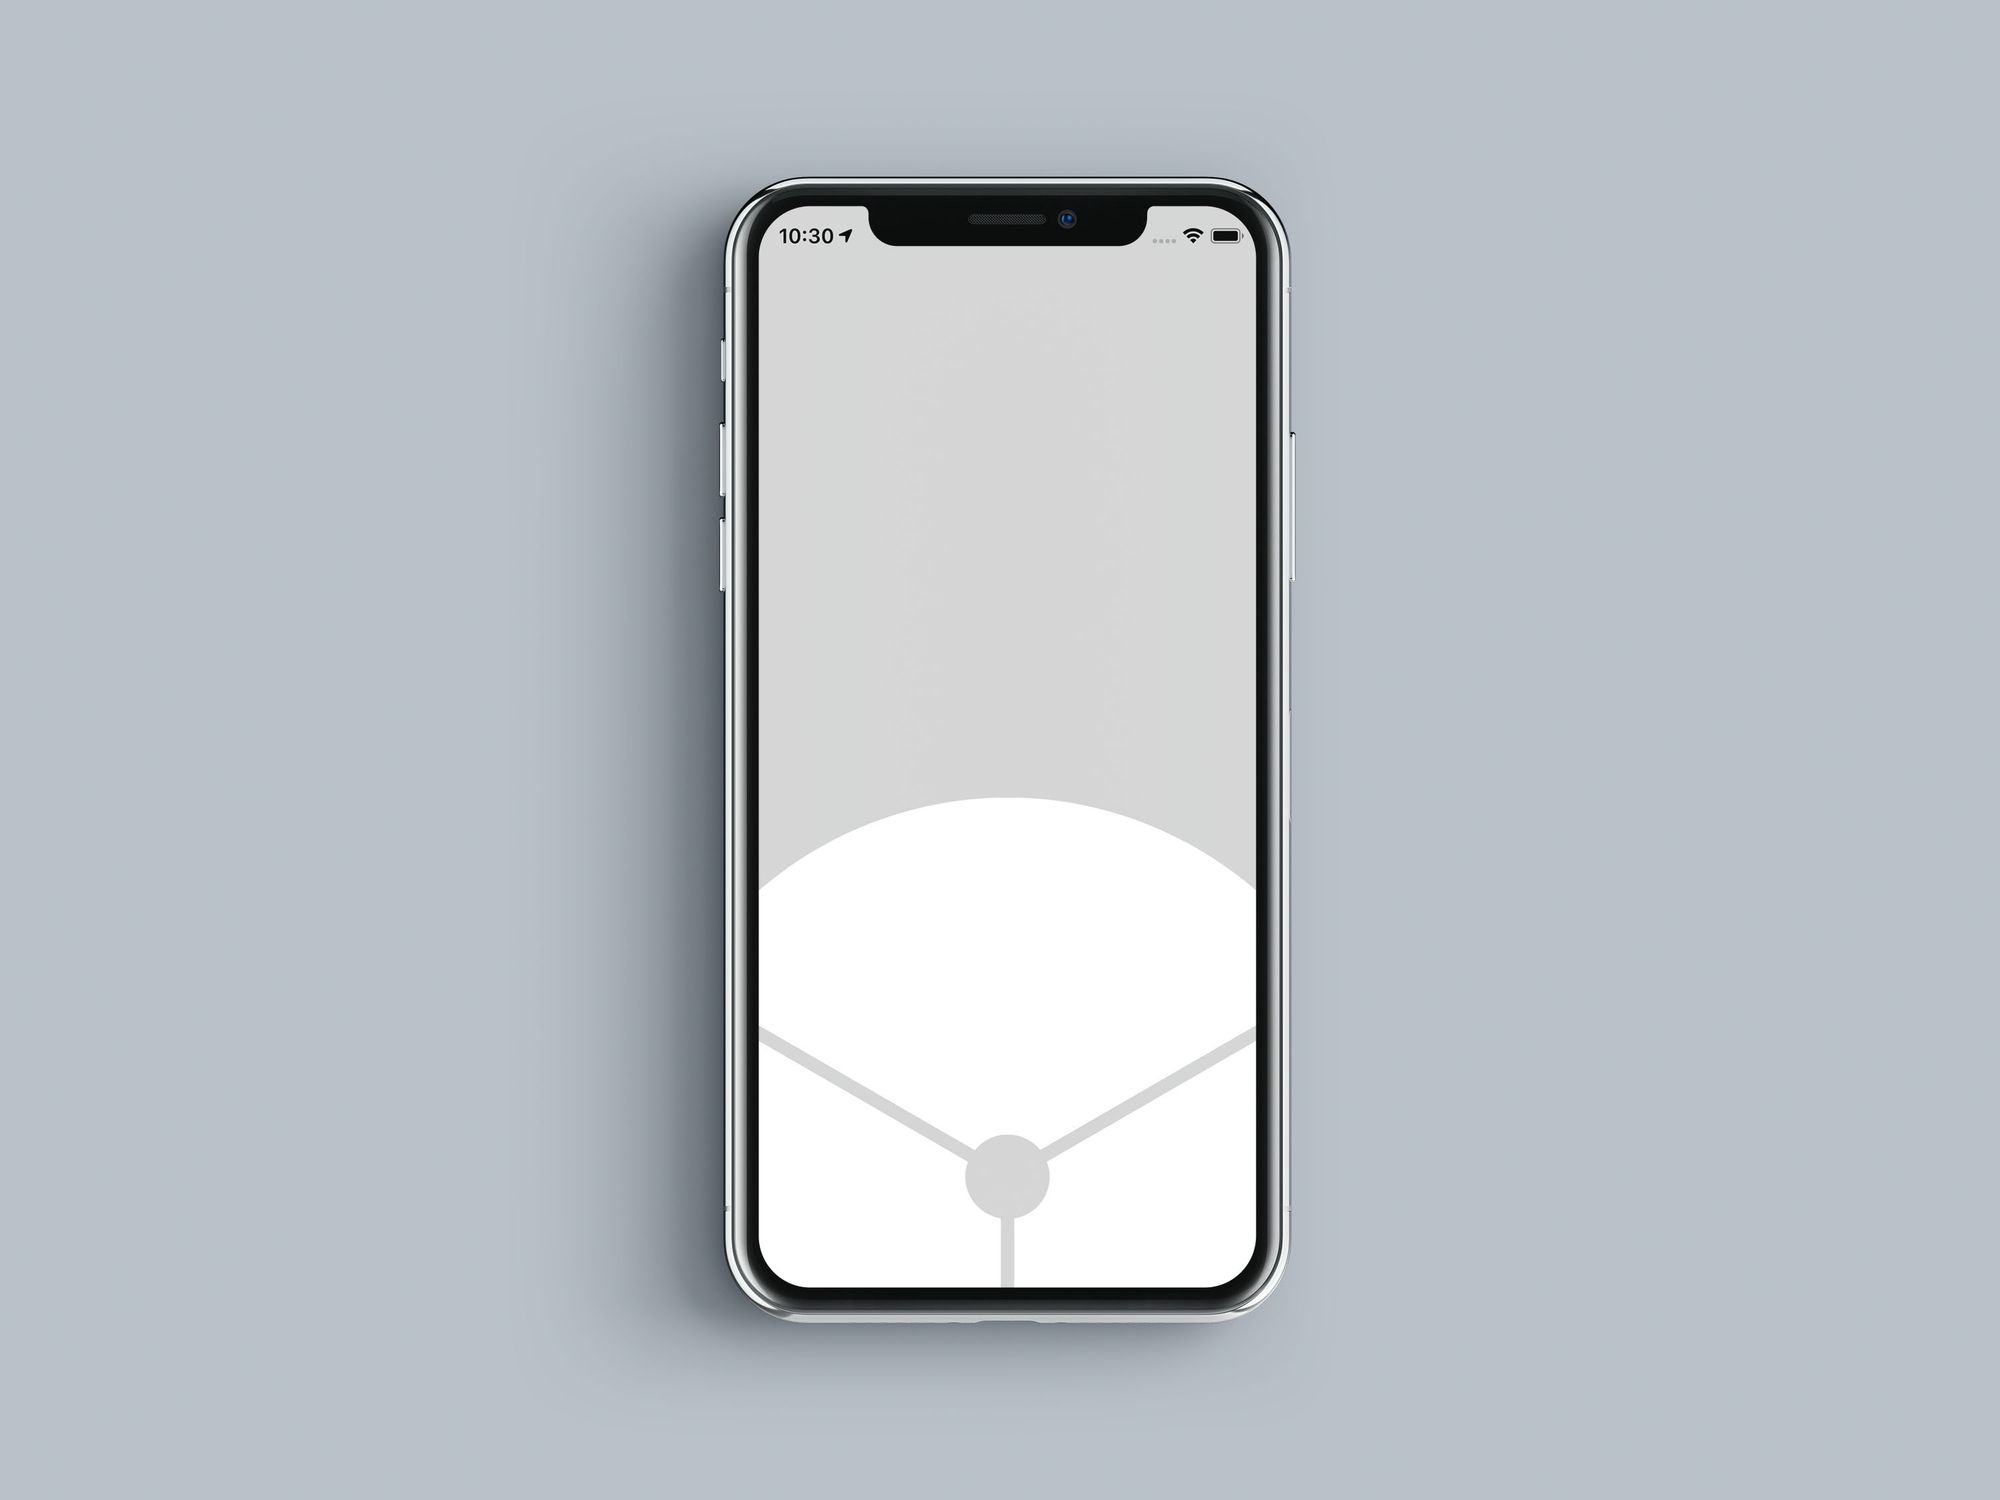
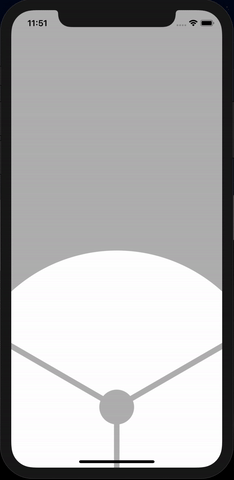
For the last month at Prototyp we’ve been working on some quite interesting stuff. The goal was to create a circular swiper for selecting products to scan — something like this:
It’s a circle which should rotate based on user swiping gestures. After a bit of exploration, we landed on a couple of libraries and technologies to create this. Here’s what it takes:
- Pan Responder: https://facebook.github.io/react-native/docs/panresponder
- Animated library: https://facebook.github.io/react-native/docs/animated
- react-native-svg: https://github.com/react-native-community/react-native-svg
Main requirements are that the images are dynamic and clipped by a custom SVG path and that it rotates and snaps to correct portions of the circle. Seems easy enough, and the final result actually is, but the road to success is paved with a lot of slow animations.
Friendly notice: If you’re here to read about clipPath and react-native-svg, I’ll cover this in the second post and update it here when it lands. Nothing more for you for now — sorry!
Pan Responder
PanResponder is great — it’s a React Native wrapper of the responder handlers provided by the gesture responder system.
Main methods used are:
onMoveShouldSetPanResponderCapturewhich sets up the component to be tracked by PanResponder.onPanResponderGrantwhich is being triggered immediately when user taps or swipes for the first time in a single instance. In this methodsetOffsetshould be triggered on the Animated value to transfer last panned value to offset as a sort of memory, or how much has the object moved (or in this case rotated) since the beginning of the first swipe interaction.
onPanResponderGrant: () => {
    this.pan.setOffset(this.pan._value);
}- next is
onPanResponderMovewhich is continuously called for each pixel of user movement on the screen. Here we bind it directly to the value ofAnimated— more on that later.
onPanResponderMove: (e, gestureState) => {
    this.pan.setValue(gestureState.dx)
},- And finally,
onPanResponderReleasewhere most of the calculations take place — here we decide where the circle will snap after the user releases the tap. This method is a bit complicated so let’s go through it step at a time:
onPanResponderRelease gives you access to precalculated values of dx and vx which corresponds to horizontal displacement and horizontal velocity, respectively. Besides them, their vertical counterparts exist (dy and vy) but we won’t be using them in this example.
With this in mind, we can create the following snippet:
const handlerValue = Math.abs(dx) > SCREEN_WIDTH / 8 || Math.abs(vx) > 1.3 ? this.getAmountForNextSlice(dx, this.pan._offset) : this.snapOffset(this.pan._offset);Which calls this.getAmountForNextSlice if user has swiped far enough or with enough force, or this.snapOffset and send it the last offset state to return user to the previous position.
getAmountForNextSlice = (dx: number, offset: number) => {
// This just rounds to the nearest 200 to snap the circle to the correct thirds
const snappedOffset = this.snapOffset(offset);
// Depending on the direction, we either add 200 or subtract 200 to calculate new offset position.
const newOffset = dx > 0 ? snappedOffset + 200 : snappedOffset - 200;
return newOffset;
};
Or in case we return user:
snapOffset = (offset: number) => Math.round(offset / 200) * 200;After we have moved the user to the next product or snapped him back to the previous one, this.pan.flattenOffset(); method is called (an Animated.Value method), which, as stated in the documentation, Merges the offset value into the base value and resets the offset to zero. The final output of the value is unchanged. — https://facebook.github.io/react-native/docs/0.8/animatedvaluexy#flattenoffset
Finally, the transition to new value can be animated using Animated.spring:
Animated.spring(this.pan, {
    toValue: handlerValue
}).start(() => this.simplifyOffset(this.pan._value));
Animated.spring also accepts a callback function, which is in this case this.simplifyOffset() where we map offsets that are more than one full circle back to 0 to avoid offsets in thousands to simplify calculations.
More on Animated Library
Animated is an animation library that works great together with PanResponder. To keep the article somewhat short, I’ll just point you to official documentation to the whole library (https://facebook.github.io/react-native/docs/animated) and cover one thing we haven’t encountered above.
In previous section, we have called Animated.spring() method which one of integrated animation types for Animated values. In order to use it, you must declare a variable as an Animated Value:
private pan: AnimatedValue = new Animated.Value(0);And also wrap the element you wish to animate with Animated.View component:
<Animated.View style={{transform: [{ rotate: this.pan.interpolate({ inputRange: [-200, 0, 200], outputRange: ['-120deg', '0deg', '120deg']})}]}}
{...this.panResponder.panHandlers}
>
<SwiperSvg products={products} />
</Animated.View>
Notice the ...this.panResponder.panHandlers which is used to instantiate pan handlers, obviously, on this element only. There is more styling involved, but it’s removed here, for brevity.
What this does is it binds the change to the pan distance (the inputRange value) to the rotation amount (the outputRange value). The numbers here are tweaked to match the desired speed and springiness, but 200 is important as we have snapped all amounts to that earlier, to ensure proper orientation of each section after swiping is done. To increase or decrease the speed of swiping this number should be adjusted everywhere.
Performance Issues
Now, everything said earlier is great, but what almost brought a whole project to a halt and back to the drawing board was the performance on Android.
On one side iOS handled things beautifully, almost locking 60fps on an iPhone 5 back from 2012, while modern high-end Android devices struggled with maintaining half of that, and older ones being flat out unusable.
First, we have optimized images, trying to use FastImage (https://github.com/DylanVann/react-native-fast-image) — which helped in some cases, but regarding swiping FPS, we weren’t sure if it was the placebo kicking in or actual improvement, so no real improvement here.
After that, we’ve spent quite some time optimizing styles, as using Stylesheet objects is far faster than defining new style object each time. You can read more about this here: https://facebook.github.io/react-native/docs/stylesheet. This helped with consistency, but again no real benefits to the performance.
One of the most often bits of advice is to use a native driver, by enabling a flag in the Animated config:
useNativeDriver: trueWhich helps quite a lot actually, but it completely breaks the animation calculation as the offset and values of the pan is miscalculated since the animation steps are asynchronously sent and executed in the native realm.
In the end, we’ve spent full 10 days optimizing and trying to find a solution, even decided at one point to write everything in native, when we hit a one-line breakthrough.
To get a little perspective, we come from web development, and we brought best practices with us. Some of them had to be abandoned for mobile, some updated, but some gave us some serious headaches. For example, it is normal to define a border radius of an element as ‘1000’, as you’re sure it’s ‘enough’, on the web. On mobile, especially Android, it is not.
This one line, this borderRadius: 1000 on a button which is positioned in the middle of the swiper (empty space on the drawings), caused a 50–80% reduction of fps while swiping on Android.The solution is to use the minimum amount needed for the button to be fully circular. It needs to be at least half of the element width, so if the element is 50x50, borderRadius should be at least 25. Everything above that can give performance issues and is useless.
We were mind-blown. It’s hard to believe that a one-liner can cause so much trouble and be so hard to detect in the code. However, it is what it is. I just hope this helps you, weary internet lurker.
In the end, here is how it looks on a simulator (mind that this GIF is capped at 20fps, it’s a lot more fluid on a real device):
Conclusion
By using PanResponder and Animated, it’s fairly easy to create desired animation and gesture control. One should be very careful about performance on Android though — very small details in Android implementation can bring the whole experience to a halt even on powerful devices. However, once you go past that, you’re left with great user experience and a fun swipeable component.
Have something to add? Please do, we’re always eager to learn more, as we’ve only started RN development. If you want to get in touch, send us an email to hello@prototyp.digital or visit us at https://prototyp.digital. Thanks!
Thanks to Vlatko Vlahek.